
Get started with Switchify
Day one with Switchify takes about fifteen minutes. You'll install it, turn it on in Android's accessibility settings, pick a way of selecting things, set up your switch, and try it on your home screen.
Choose what you're setting up
If you want to control your Android phone or tablet, start with Switchify on Google Play and follow the Android steps below.
If you want to control a Windows PC or an Apple-silicon Mac from your Android device, you'll also need Switchify PC on the computer and Switchify Remote on the Android device. Switchify PC 1.0 is a release candidate on GitHub releases, and Switchify Remote is in a closed test on Google Play.
-
Install from Google Play
Open the Play Store on your Android phone or tablet and search for "Switchify", or open this link on the device: Switchify on Google Play. The free version installs in a few seconds.
-
Turn on Switchify in Android's accessibility settings
Open the Switchify app. It asks you to turn it on as an accessibility service. Tap through to Settings → Accessibility → Switchify and switch it on. Android will warn you that the app can read what's on screen and perform taps on your behalf — that's how every switch access app works. Approve it.
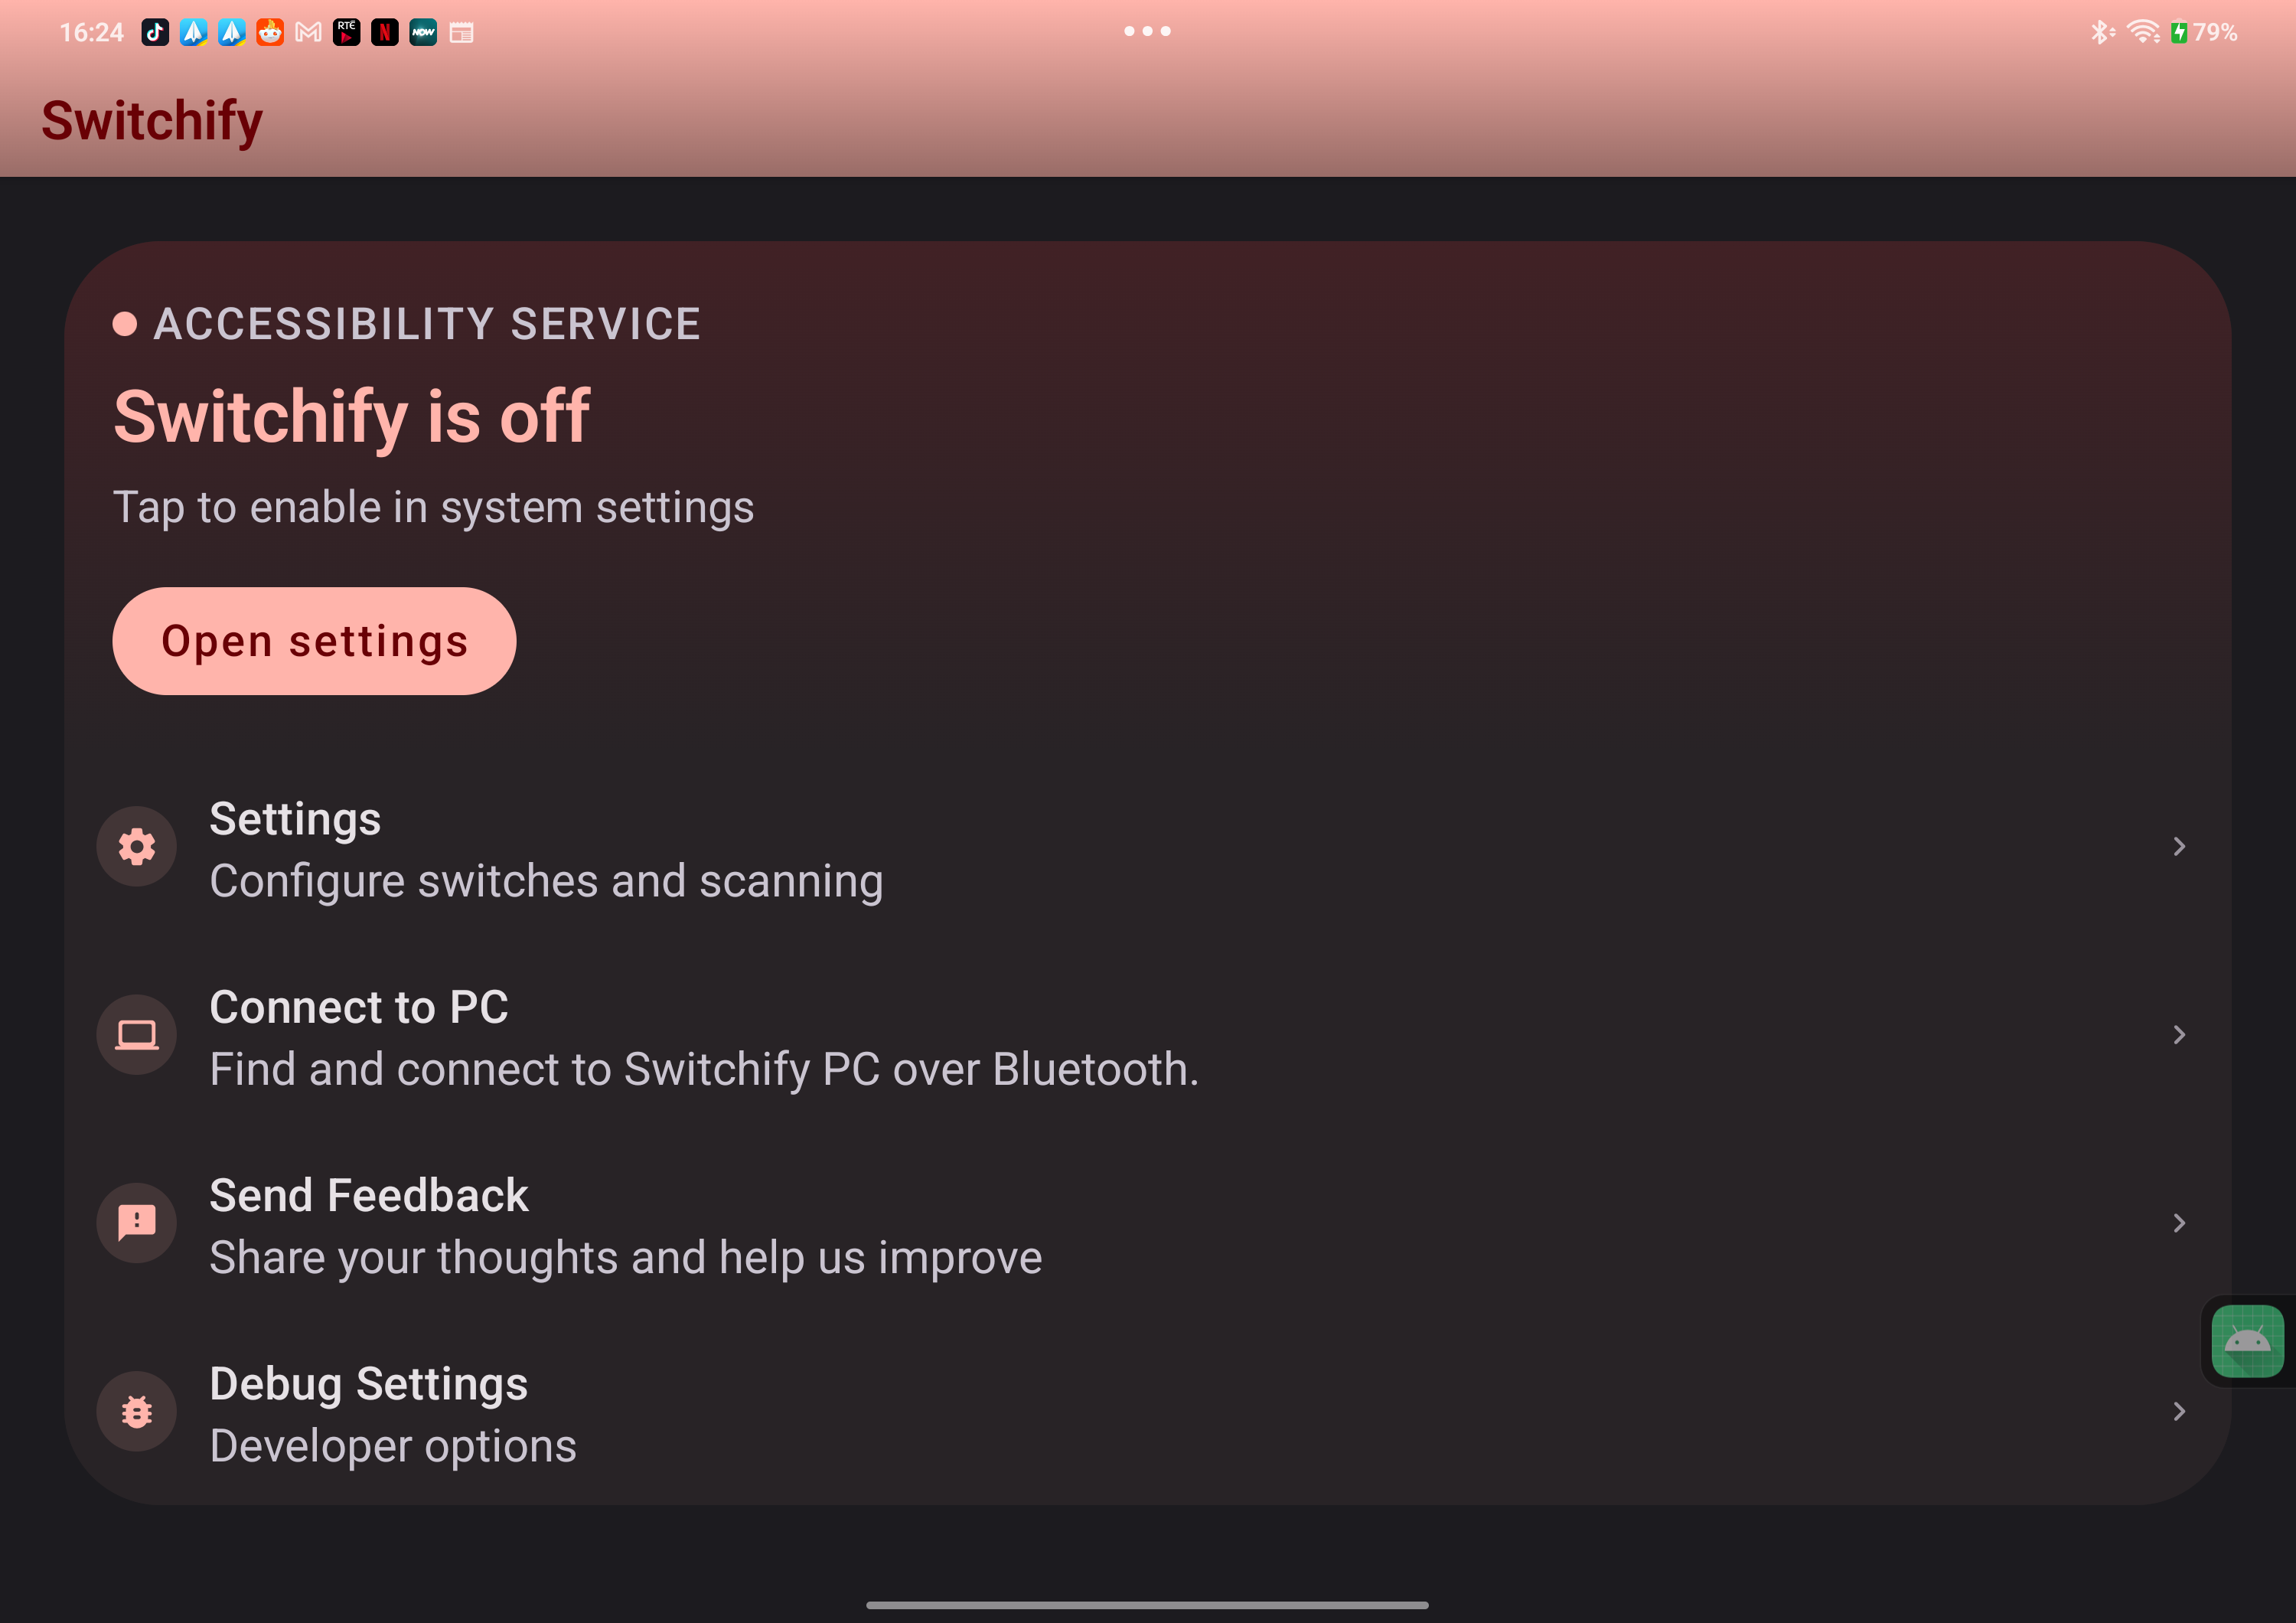
Switchify uses Android's accessibility service so it can read the screen structure and perform actions on behalf of the switch user. -
Pick how you'll select things
Switchify supports three access techniques: item scanning (highlights interactive things one by one — start here if you're new), point scanning (uses moving lines to pick an exact spot), and radar (a rotating line for awkward corners). Choose under Settings → Scanning; you can change it any time. How it works explains each one in detail.
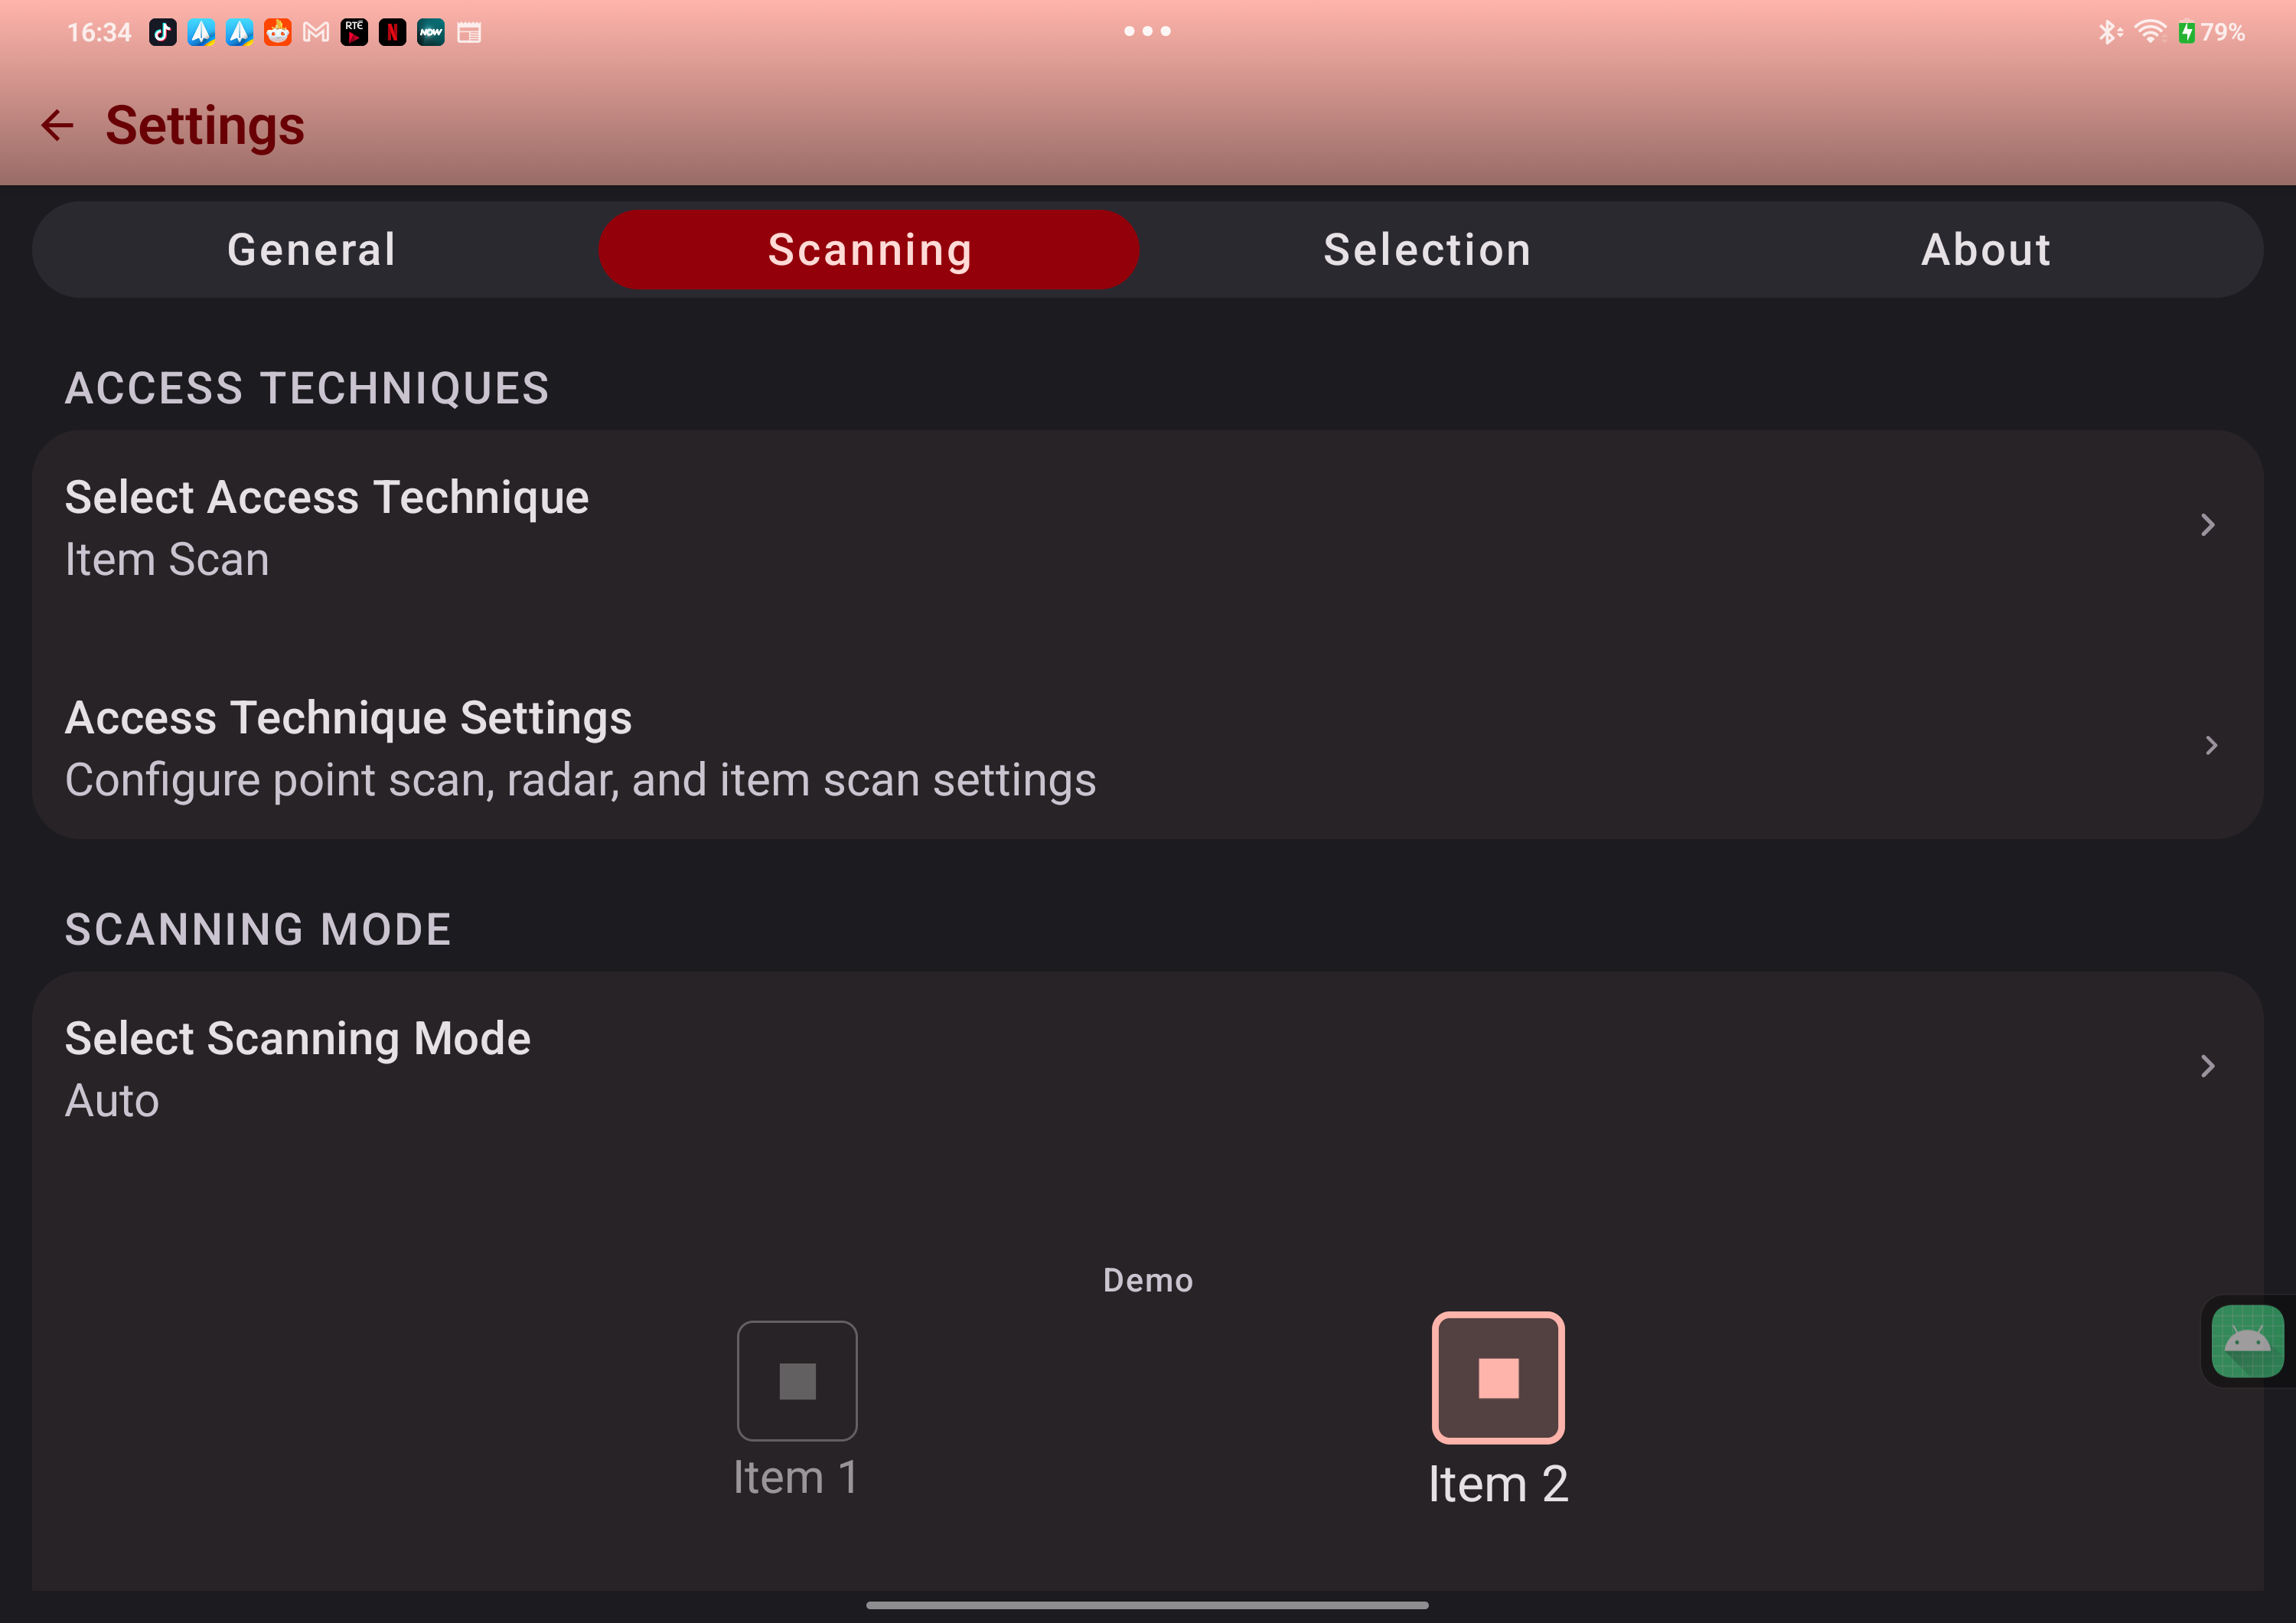
Most new users should start with item scanning, then adjust the access technique later if another method fits better. -
Set up your switch
Connect your switch interface (Bluetooth or USB), or use a camera gesture as your switch. In Switchify, go to Settings → Switches, open External Switches or Camera Switches, add a new switch, and press your hardware switch (or perform the gesture) when prompted. Switchify learns it. Add a second switch for manual scanning if you want one switch to move and another to select.
-
Try it on the home screen
Close Switchify's settings. The home screen should now say Switchify is on. Press your switch. The scanner starts. Move through your apps until you reach one you use every day — Messages, the browser, Spotify — and select it. If it doesn't feel right, slow the scan speed down (in Settings → Scanning → Scan Speeds) and try again. Scan speed is the single biggest tweakable thing in switch access. Take time on it.
What to try next
Once the basics feel comfortable, read How it works to see what else Switchify can do — camera switches, gesture patterns, the menu, switch timing — and adjust the parts that don't yet fit how you move.
Optional: connect to a PC
Install Switchify PC on your Windows PC or Apple-silicon Mac and Switchify Remote on your Android device, and make sure Bluetooth is enabled on both. In Remote, choose PCs, then Find nearby PCs, pick your computer, compare the six-digit code, and approve the first connection on the computer. Switchify PC has the full setup details and downloads.
From then on, Control PC in Switchify's menu opens Remote for mouse, live or draft typing, keys, shortcuts, and window actions. To send your external switch presses directly to the computer or to Grid 3, choose PC Switch Forwarding in Switchify's menu, pick a profile, and start. You can manage profiles from the Switchify PC main window, tray, or Settings.
Stuck? Email Owen at owen@switchifyapp.com or schedule a call.